


AI Art 101: A Beginner’s Guide to Creating Stunning Digital Art
Introduction
Welcome to the world of AI art! If you’re new here, you might be feeling a mix of excitement and curiosity—maybe even a little intimidation. But the good news? Creating art with AI is accessible to everyone, no matter your background or previous experience. Thanks to advanced tools, a little bit of guidance, and some creativity, you’ll be amazed at what you can create.
Whether you're looking to make beautiful art for fun, start a creative side hustle, or explore digital art as a new hobby, this guide will walk you through the basics. Let’s dive in and see how easy (and fun) it is to start creating stunning digital art with AI!
Section 1: Choosing the Right AI Tool
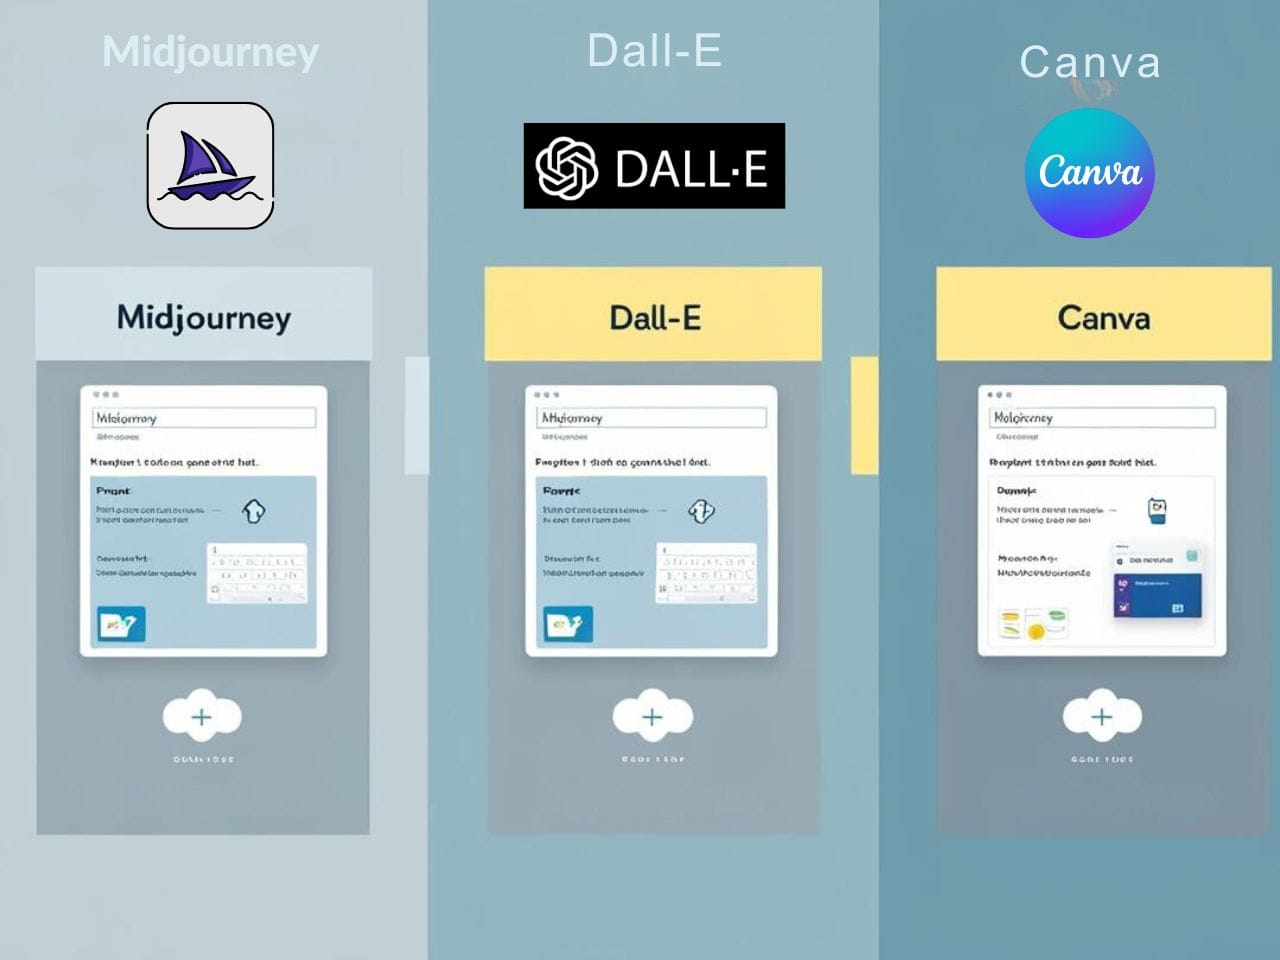
The first step in your AI art journey is choosing a tool that suits your needs. AI art platforms vary in features, user interface, and pricing, so let’s look at a few popular options to help you make the right choice.
Midjourney: Known for its high-quality, stylized images, Midjourney is popular among artists and creators who want unique, visually striking results. While it has a paid plan, it’s great for those who are ready to dive into more polished, professional-looking art right from the start.
Pros: Gorgeous visuals, highly customizable.
Cons: Requires a subscription; not beginner-free.
DALL-E: Developed by OpenAI, DALL-E is powerful and easy to use. It allows for diverse image styles, and its interface is user-friendly, making it a solid choice for beginners.
Pros: User-friendly, diverse image generation options.
Cons: Somewhat limited without a subscription.
Canva with AI Art Generator: Canva is fantastic for beginners due to its simple, drag-and-drop interface. With a built-in AI art generator, it allows you to create images within a design tool you might already be familiar with, which can be great for customizing templates and creating social media visuals.
Pros: Easy to use, great for combining art with templates.
Cons: Limited artistic control compared to Midjourney or DALL-E.
Each of these tools offers unique features, so consider what you want to achieve. For example, if you’re looking to create high-quality, professional art, you might prefer Midjourney. If you’re seeking versatility with a lower learning curve, DALL-E or Canva could be a better fit.
Section 2: Basic Tips for AI Prompting
Once you’ve chosen your tool, the next step is learning how to “talk” to it. AI art tools rely on prompts—text descriptions you provide that guide the AI in creating the image. Crafting the right prompt is like giving the AI directions, and the better your directions, the more stunning your results!
Here are a few basic tips for writing prompts:
Be Specific: The more details you provide, the closer the AI will come to your vision. Instead of “sunset,” try “vibrant orange and pink sunset over a calm ocean.”
Include Style Words: If you want a specific look, add terms like “abstract,” “realistic,” “minimalist,” or “surreal.” These help the AI understand the mood or artistic style.
Experiment with Descriptive Adjectives: Adjectives like “ethereal,” “vibrant,” “dreamy,” or “geometric” can add a unique flair to your creations and guide the AI to create a particular atmosphere.
Prompting can be a creative process all on its own. If you’re interested in diving deeper into advanced prompting techniques, our [Facebook Community] is the perfect place to connect with others, share prompts, and pick up tips from more experienced AI artists. You don’t have to figure it all out alone!
Section 3: Creating Your First Design
Now that you’ve chosen a tool and understand the basics of prompting, it’s time to create your first AI artwork! Here’s a step-by-step guide to get you started:
Here are a few basic tips for writing prompts:
Pick a Simple Subject: Start with something straightforward, like a landscape or abstract design. This will help you get comfortable with the tool without feeling overwhelmed.
Write a Basic Prompt: Use what you learned in Section 2 to craft a descriptive yet simple prompt. For example, “a peaceful mountain scene with a pink and orange sunset, in a painterly style.”
Generate the Image: Enter your prompt into the AI tool and let it work its magic. You might get a few variations; feel free to pick your favorite or tweak the prompt if needed.
Refine Using Templates: If you’re using Canva, try placing your AI-generated art into one of Canva’s design templates (like a social media post or a printable). This gives your image context and can be a great way to turn your art into a shareable or sellable product.
Creating your first design is just the beginning! Don’t worry if it doesn’t look perfect right away. Every artist’s journey starts with experimenting and learning. As you practice, you’ll get a better sense of how to shape prompts to achieve the results you envision.
Section 4: Refining Your Skills Over Time
The best part of creating with AI is that there’s always more to explore and learn. As you get more comfortable, you’ll naturally start experimenting with more advanced techniques and styles. Here are a few ideas to keep growing:
Explore Different Art Styles: Try prompts that push your art in new directions—surrealism, cubism, or digital realism. You’ll discover new looks and find what resonates with you.
Learn from Others: Follow experienced AI artists to see what prompts and techniques they’re using. Studying their work can give you ideas for your own creations.
Join a Community: Learning alone can be limiting, but joining a group of like-minded creators can supercharge your progress. Our [Facebook Community] is a supportive place to share your work, get feedback, and discover new approaches. Plus, it’s a great way to stay motivated and inspired!
Refining your skills takes time, but remember, the journey is part of the fun. Enjoy the process and celebrate each new discovery along the way!
Section 5: Where to Use Your AI Art
So, you’ve created a few pieces of AI art—what next? Here are some popular ways to put your artwork to good use:
Print-on-Demand (POD) Products: Use your designs for products like mugs, t-shirts, notebooks, or phone cases. Services like Printful and Printify make it easy to add your art to physical items and sell them online.
Social Media Content: Share your art on Instagram, Pinterest, or Facebook to build a following or simply to inspire others. Many AI artists use social media to showcase their work and even attract clients.
Digital Downloads: Sell your art as digital downloads on marketplaces like Etsy or Creative Market. People love buying unique digital art for wall decor, phone wallpapers, and more.
Personal Projects: AI art can be used in journals, planners, or even as unique backgrounds for presentations. The possibilities are endless, and you’ll find so many creative ways to incorporate your art into everyday life.
Whatever direction you choose, AI art opens up an exciting world of creative possibilities. The more you experiment, the more you’ll discover about your style and interests.
Conclusion and Call to Action

Creating stunning digital art with AI is not only achievable for beginners—it’s a journey that can lead to endless creative discoveries. With the right tools, some basic prompting techniques, and a bit of practice, you’ll be creating beautiful artwork in no time.
If you’re eager to learn more, connect with other beginners, and get inspired by fellow creators, we invite you to join our [Facebook Community]. It’s a friendly, supportive space to share your journey, ask questions, and pick up tips that will help you grow.
Ready to dive deeper? Join our [Facebook Community] for exclusive tips, prompts, and inspiration. See you there!


31 Summerville Complex, Parklands Main Road, Western Cape, Blouberg, South Africa